
How Pool Equipment Repair Diagnosis Actually Works
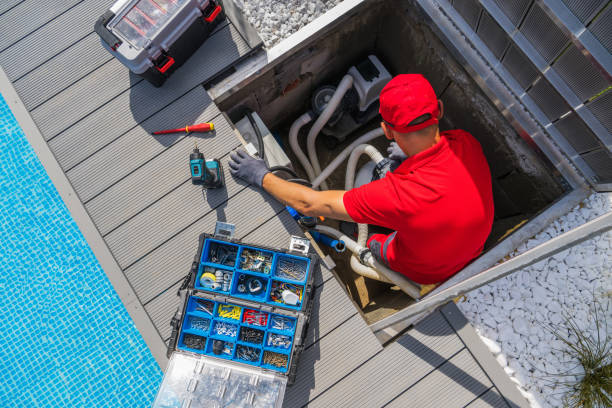
When a pool pump, heater, or filtration system starts acting up, there's a real process behind figuring out exactly what's wrong, one that goes well beyond just replacing whatever part seems most likely to be the problem. Understanding how proper diagnosis works helps explain why a thorough repair visit takes the time it does, and why guessing at parts rarely solves the problem for good.
Step One: Gathering the Full Symptom Picture
Before touching any equipment, a proper diagnostic process starts with understanding exactly what's happening, when did the issue start, is it constant or intermittent, did anything change recently (a new chemical routine, a storm, a power outage), and what does the homeowner actually observe day to day. This context often narrows down likely causes significantly before any physical inspection even begins.
Step Two: Visual and Physical Inspection
Next comes a hands-on look at the actual equipment: checking for visible wear, listening for unusual sounds during operation, feeling for excessive vibration or heat, and looking for any obvious signs of leaks, corrosion, or damage. This step often reveals issues that wouldn't be apparent just from a homeowner's description alone.
Step Three: Testing Performance Against Expected Baselines
Equipment has expected performance ranges, flow rates, pressure readings, electrical draw, and comparing actual measurements against those baselines identifies exactly where a system is underperforming. A pump that's drawing more current than it should, or a filter that's showing pressure well outside normal range, points toward specific likely causes rather than a vague "something's wrong."
Step Four: Isolating the Specific Cause
This is often the most involved step, since multiple issues can produce similar symptoms. Weak circulation, for example, could be a pump problem, a valve issue, a clogged filter, or a plumbing restriction. Proper diagnosis systematically tests or rules out each possibility rather than replacing the most obvious or most expensive component first and hoping that solves it.
Step Five: Confirming the Fix Actually Resolves the Issue
Once a repair is made, the process isn't complete until performance is retested and confirmed to be back within normal range. A repair that "should" fix the problem based on the diagnosis, but hasn't actually been verified afterward, leaves room for the original issue to still be present, or for a related issue to have been missed.
Why Skipping Steps Leads to Repeat Repair Calls
When repairs are made without this full process, a part gets swapped based on a guess rather than confirmed diagnosis, there's a real chance the actual underlying issue wasn't addressed. This is why some homeowners find themselves calling for repair on the same piece of equipment multiple times within a short period, the wrong thing kept getting fixed.
What This Means for You as a Homeowner
A repair visit that takes the time to properly diagnose the issue, rather than rushing to the most obvious fix, is more likely to solve the problem completely on the first visit. It's worth understanding this process so you know what a thorough repair should actually look like, and can recognize the difference between a real diagnosis and a guess.

Want your equipment issue properly diagnosed, not just guessed at? Request your free consultation and get it done right.